Cross Made with Sabor Papel's Amor Collection

Cross Made with Sabor Papel's Amor Collection
Click image to see more of Sabor Papel's Paper Collection

Saturday, June 18, 2016

Using Social Media Posts in your Scrapbooking.

Hello!  Welcome back to my blog.  Today I want to share a tip on how to use your social media posts and comments as a way of documenting your journey and journaling in your scrapbooking.
          
For example, I want to include this post and its comments from family and friends that were given on both the Instagram and Facebook postings.  So, I took a screen shot of both posts, saved them to my desktop on my computer, and printed them out.  Now all I have to do is crop and creativily mat them into my mini!  Simple and fun, right?  The journaling is done for me and it is more meaningful because the loving comments from family and friends are now included in my mini!!


Instagram post I am using in my mini album 


I hope you give this tip a try as you continue to document your journey through scrapbooking.  

Love and Blessings,

Erminda

Thursday, June 16, 2016

Using Color in Scrapbooking


Using Color in Your Scrapbook Designs

 I  am passionate about storytelling through papercrafting.  To tell your story well,  you want to capture the viewer’s attention, control the eye’s movement, emphasize the theme, and evoke emotion. I would like to share with you a few tips that can help you document your journey in a well designed mini album.
Today, I want to focus on Color, one of the 8 design elements of visual design.
Understanding and thinking about how you use color on your scrapbook pages is important because when used well, it will create a harmonious and pleasing layout,  as well as evoke feelings and emotions that will help convey your story.
For my "All I Need is Love" mini album, I chose to use a warm color scheme because warm colors (red, orange, yellow) are often associated with passion, love, and happiness.  My accent color is teal, since that is a complimentary color on the color wheel. 
Color Scheme and papers I will be using in the mini album.


Since the Amor and Ole collections are so well designed, it is easy to choose the papers for my mini.  After all this careful planning, my favorite part can begin: Documenting my story of love in my mini album!!  
Two embellished pages from my "All I Need Is Love" mini album. 


Thank you for stopping by my blog today. I hope you found these tips helpful.  

Love and Blessings,

Erminda

Tuesday, June 14, 2016

Amor Keepsake Chest


Hola Crafters and welcome back to my blog.  Today, I want to share with you this wooden keepsake chest I created for Sabor Papel.  I was so inspired by the Amor Collection as soon as I saw it last winter.  The rich colors, vivid images, and traditional, timeless theme of everlasting love stole my heart.  Immediately, I knew I was going to have many delightful hours creating everything from paper crafts to home decor with this collection.


 Supplies:

wooden keepsake box, I got this one from Michaels
metal embellishments, I used some from Butterbee Scraps and Michaels
scissors
Liquid Adhesive
acrylic paint
paint brush
Tim Holtz Vintage Photo Distress Ink
Ink blender
sanding block
paper trimmer
We Are Memory Keepers Corner Chomper


Process:

First, I removed the hardware from the drawer fronts.  Then, I lightly sanded and painted the inside and outside of the chest and the drawers with acrylic bronze paint.  I allowed it to dry.  Then, I rubbed some red acrylic paint into the grooves and creases to give a more dimensional look.  If you want a more distressed look, you could lightly sand the painted chest after it dries.  The key to painting this type of decor piece is to experiment with layering the paints to achieve the final look you want.  It is fun and quite rewarding to take you time with this step. 


Top of Chest
 For the top of the chest, I knew I wanted to use the sentiment from La Novia.  So, I used a paper trimmer to cut the sentiment out as shown above.   Then, I used a my We are Memory Keepers Corner Chomper to trim the corners.  I just love that tool and use it very often to get the tradition look I desire. I inked around the edges and glued it to the top of the chest.  Finally, I embellished it with metals from Butterbee Scraps and Michaels.


Sides of Chest
 For both side panels, I cut pieces from La Novia, inked, and sanded the edges for a distressed look before I glued them down. 
For more definition and embellishment, I cut the corners from the Amor Nunca Muere Tag from the Sentimientos page.  I glued them as shown in the photo below.


Drawers
I used the Ramitos paper for the front of the drawers.  I cut small panels, inked and adhered them to the drawer front.  I screwed in new drawer pulls from Butterbee Scraps that added to the traditional look I was going for.


 I absolutely love how this came out.  It was shown in Sabor Papel's CHA and Anaheim Scrapbook Convention booths and visitors loved it.  I hope this post has inspired you to use this Sabor Papel Amor Collection to create something beautiful for yourself or as a gift.  Visit their Where to Buy page to see the lists of retailers carrying their collections if you haven't already picked up this collection.  Thank you for visiting the blog today and have a wonderful week sharing your creativity!!

Love and Blessings,

Erminda

Tuesday, June 7, 2016

Using Cricut Explore with Sabor Papel Collections


Hola and welcome back to Tips and Techniques Tuesday!  Sabor Papel has so many supportive followers and talented artistic  customers.  Last week, one of  Sabor's Facebook followers requested more project blog posts that use cutting machines.  Thank you so much Teresa Sanchez for your feedback and this post is for you!!

 I love my Cricut Explore cutting machine for so many reasons, but especially because Sabor Papel's 80 lb card stock cuts so beautifully in this incredible machine.  I do subscribe to CricutAccess on Cricut Design Space and that makes creating a breeze because I have access to so many beautiful designs to use.  Today, I want to share with you my tips and techniques when I am creating a project with my Cricut Explore and Sabor Papel's beautiful paper collections.

 Supplies Used:
Plain Card Stock in light purple color tone
removable scotch tape to hold the paper in place on the circuit mat
purple powder ink
bone folder
liquid glue with fine tip
Cricut Explore cutting machine
Cricut spatula and pick tools
Cricut Score tool
Cricut green cutting mat
Ipad to access my Cricut Design Space Account


Directions:
I found this project while browsing on the projects pages of Cricut Design Space. Click here to browse the Cricut Design Space project page where this one is located.


 After choosing the customize button on the project page,  I was able to see it on the design project mat.  I chose not to resize the images as they were perfect for a 12 x 12 piece of card stock.  This project calls for the score tool to be inserted into its clamp, so I made sure I did that.


Before sending the image to be cut, I adjusted the Smart Set Dial to Custom as shown in the photo above.   This prompts me on the design space screen to  choose  a custom material setting.  I always choose the "Cardstock, Intricate Cuts 0.27mm" Material setting.  I find this works best for Sabor Papel card stock.  Next, I put the cardstock on the cut mat.  I always use a small piece of removable tape to tape down the corners of the paper to provide extra security that the paper won't shift while cutting. 


Once it is finished cutting, I unload the mat and carefully begin lifting the cut paper.  I always use this spatula and lift the paper all around the edges first, then work my way in toward the middle.


 I use the Cricut pic tool to poke out any left over chads.


This amazing machine already scored the project for me, so all I needed to do was fold on the score lines and burnish with my bone folder.  I love this feature of this machine!!


 I applied liquid glue with a fine tip.   A fine tip is a necessary tool when you have intricate cuts that need to be adhered.


The project also cuts the under layer that you see glued to the box in the photo above.  Continue assembling the box according to the directions and then all you have to do is embellish, if desired.


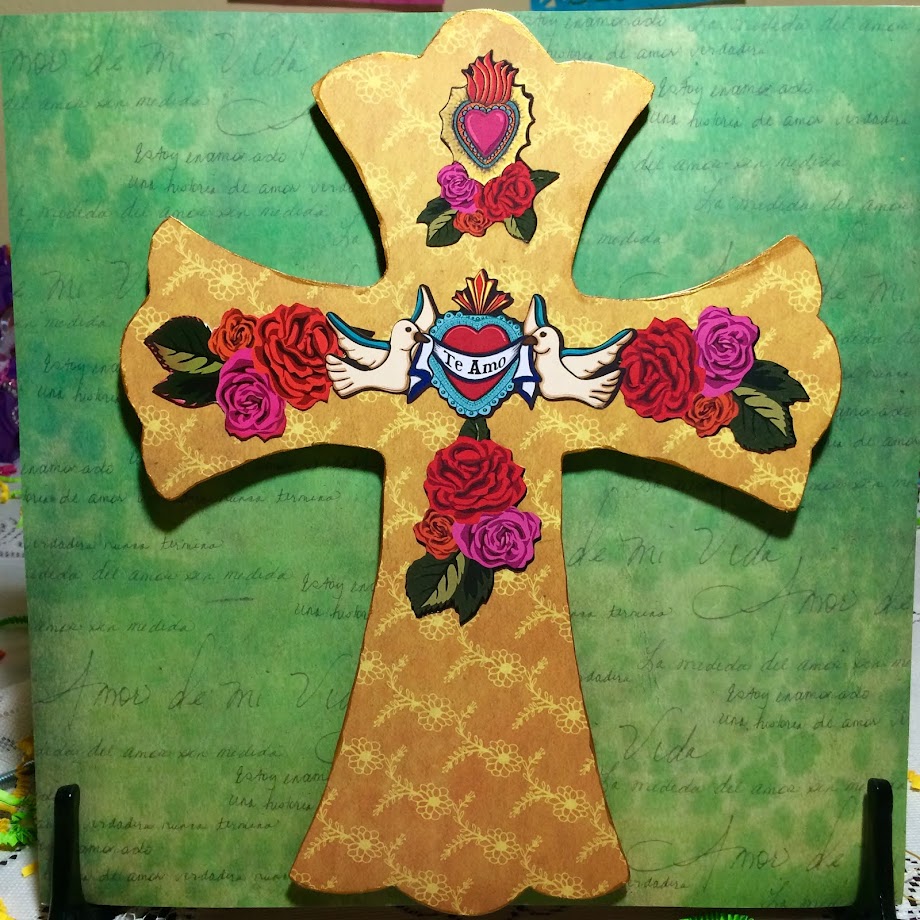
 I chose to embellish the tabs that close the box with rose cutouts from the Sabor Papel Amor collection Cardstock Cutouts and adhered the sentiment cutout  to the side of the box.


 You can even add one of the Amor Cutouts as a gift tag, if you wish.

I am so please with the way this gift box turned out.  The Amor Collection is perfect for this and many other projects you can find in Cricut Design Space.  This project is so versatile and can be used in so many ways.  Can't you see this as a lovely thank you gift sitting on the table at a wedding, a bridal shower, or a birthday or graduation party?  I hope this post has inspired you to use  your cutting machine and Sabor Papel's beautiful collections to create something gorgeous for your next celebration.  Thank you for visiting the blog today and please leave a comment below.  It really helps my blog and I appreciate you visiting today.

Love and Blessings,

Erminda